HELLO, I’m still alive, just not very active – as you can see! Still, I do read y’all’s blogs every now and then, and I’m still alive, if eaten up by college and a lack of interest in beauty products (it’s still there… it just comes in phases).
That being said, for anyone who remembers me and is interested in what’s been happening, here’s a post for you!
I’m still working on my room. I know, right? A two week project stretched out for 8 more months. Insanity. Last time I updated you guys, I had just put the drywall up in my room. There was still a ton left to do – and here it is now!
(hint hint I’m nearly done)
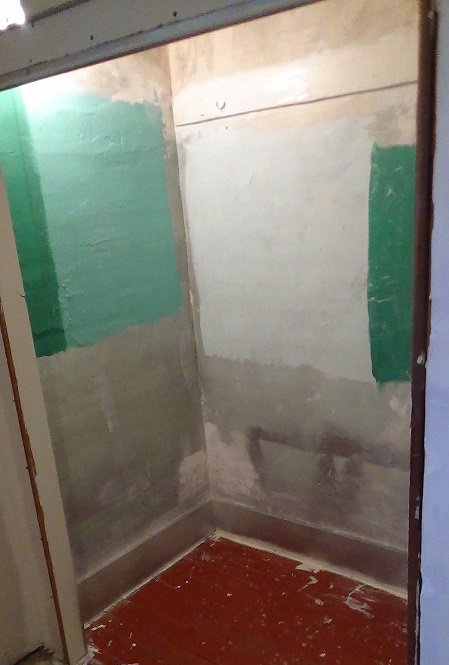
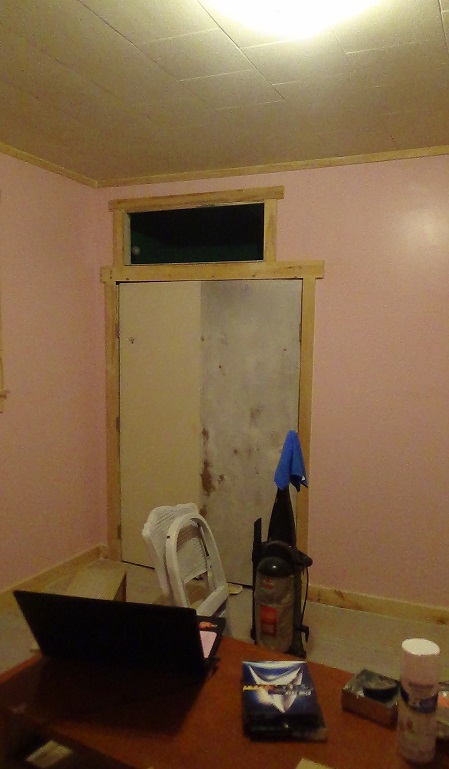
I finished chiseling out the door and patched in drywall there. Then I mudded all of the joints and skim coated the walls. This took forever – at least two weeks. You water down joint compound, trowel and feather it onto the walls, then go back and sand it smooth. Then you clean it, and start on another layer. Rinse and repeat until I had probably 18 layers on the irremovable glue areas, and I wish that was an exaggeration!
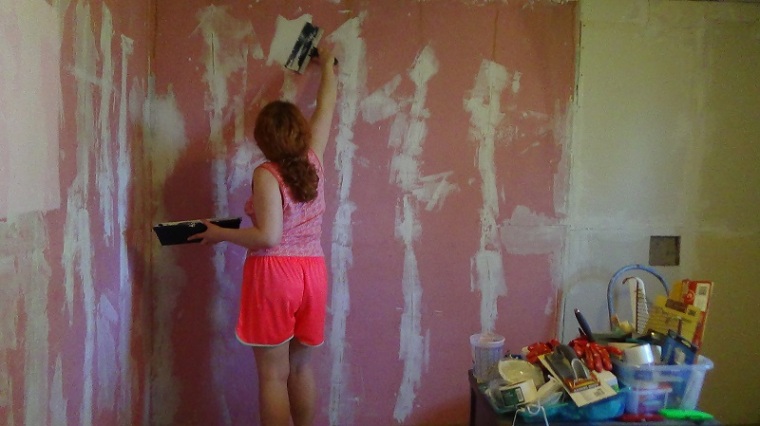


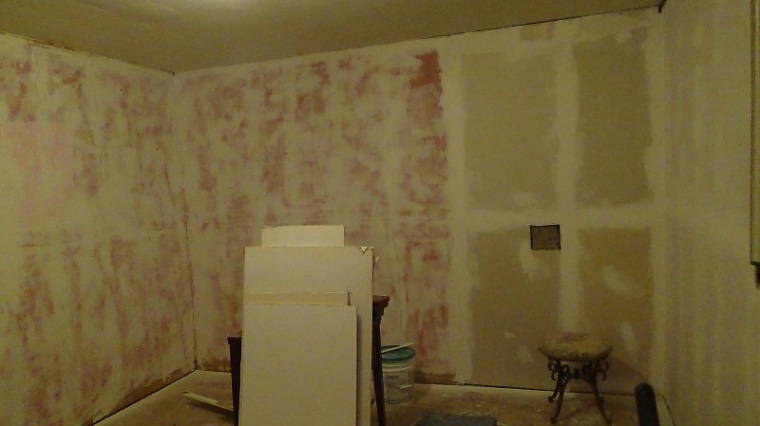
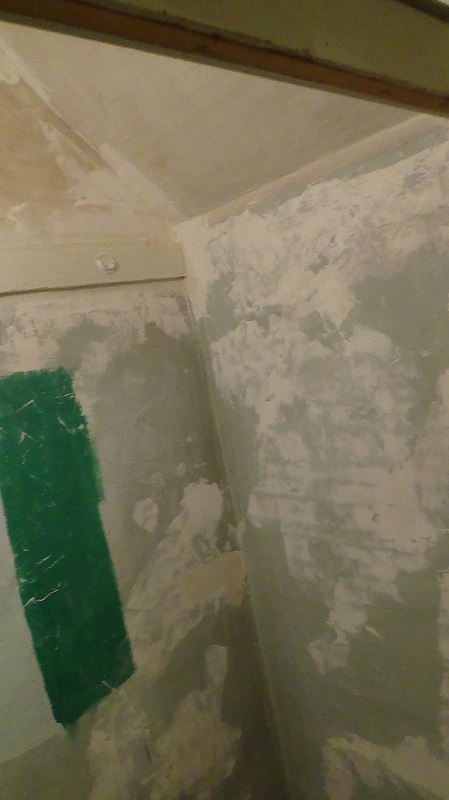
Although the glue didn’t entirely disappear, I’d say that the skim coating kind of faded them – like turning the opacity on a layer down from 100% to 40%. It’s still there, but it doesn’t jump out at you like it used to!
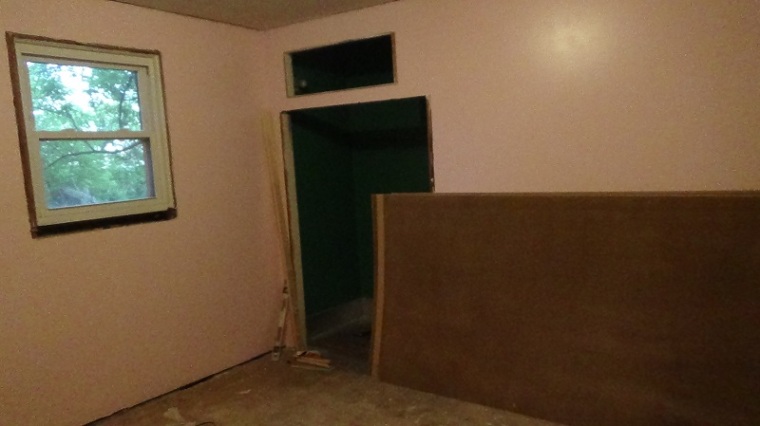
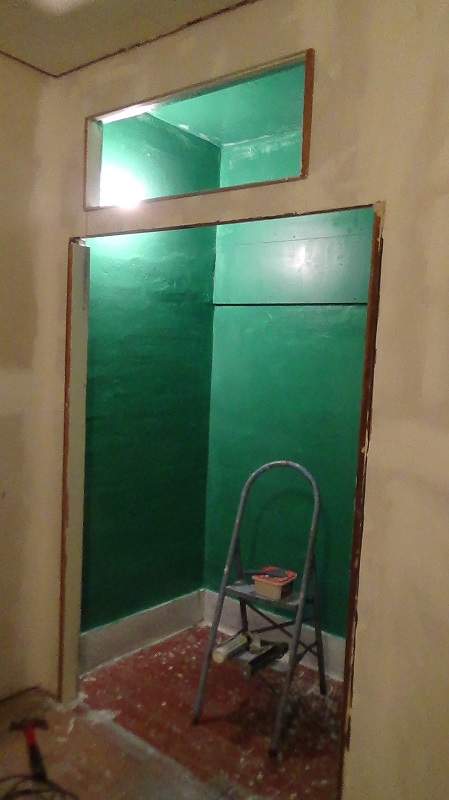
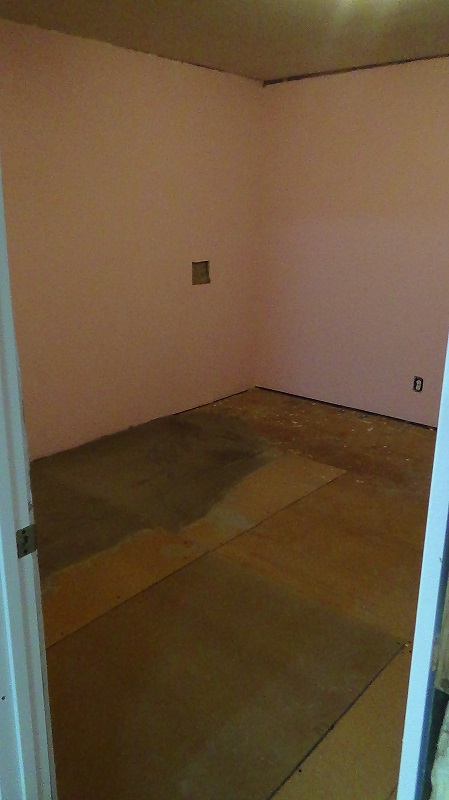
Primed and painted all the walls. Including the closet! This was quick work and only took me over a day.

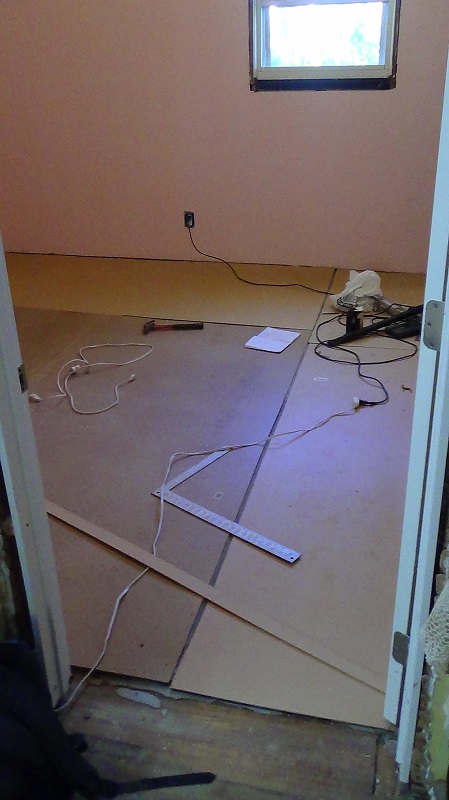
Alright, you may have noticed – my floor is crooked as hell. It always has been, with deep areas and an overall skew to the floor. I wanted it just a bit flatter so I didn’t have to keep shoving things under furniture so they didn’t fall over when my room was done. So I put down a few layers of underlayment, screwed right into the subfloor, ripped up so I could layer it more heavily in the deeper areas to help level things out a bit. This took about two days and I took a few week’s break afterwards.
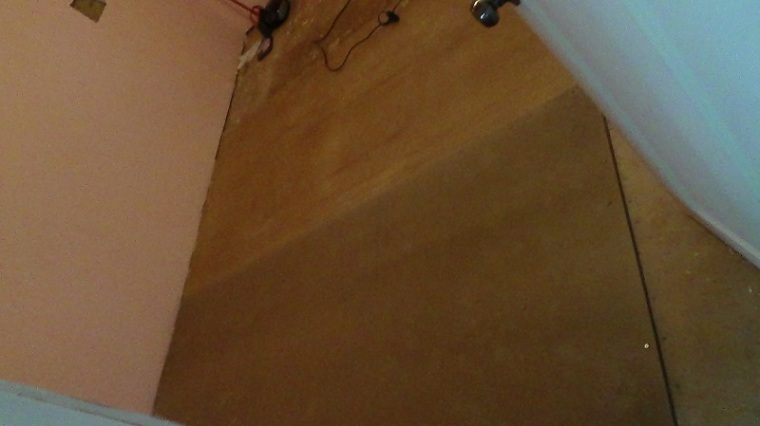
Then I poured concrete over the whole thing just to make it smooth enough for the actual floor to go down. I didn’t do a pro job and there was some cracking after I got the real flooring down, but as it was just a spacer, it wasn’t a big deal. This was a surprisingly quick job and I finished it overnight. I don’t think I took any pictures of it. 😦 Then I screwed down a layer of underlayment to make things perfectly smooth.
Then came the long break, as I needed my mother’s help with this and we were both in college full time.
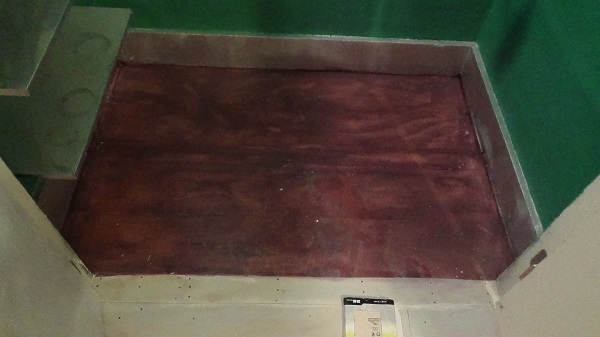
Thennn with the help of my mom and aunt, I cut up a bunch of pieces of plywood, sanded them, and nailed them into the subfloor. Then I whitewashed them in my room, stained them with some deep purple paint in the closet, and rolled three layers of polycrylic on them. The wood cutting took a few days, the actual painting process took a day, poly took about four days, and then I was supposed to let it cure for about two weeks. I think it took closer to three months before I got back to work in my room. And I didn’t take a single picture of the process. I know, my blogging rights should be revoked. 😦 Here are some pictures I took later.
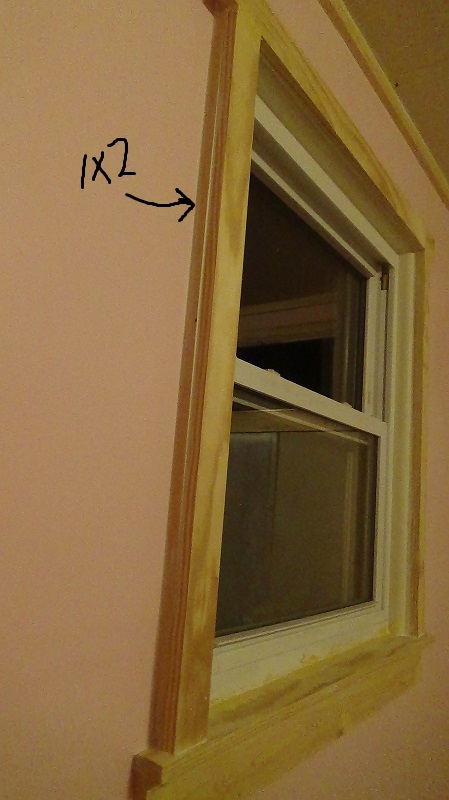
I started making my trim. I just used a bunch of 1x2s and 1x3s (and another one, which I forgot because I lost the paper that had all the measurements hahaha), cut them up with my miter saw, and nailed and screwed them into the studs. This took over a week? I worked on it off and on.
Then I went back in and became a wood filler and caulk machine. My floors and walls were still so uneven that I had giant gaps in some areas, so whatever I couldn’t fix with a slim piece of wood –
– I fixed with liquid insulation and/or caulk.
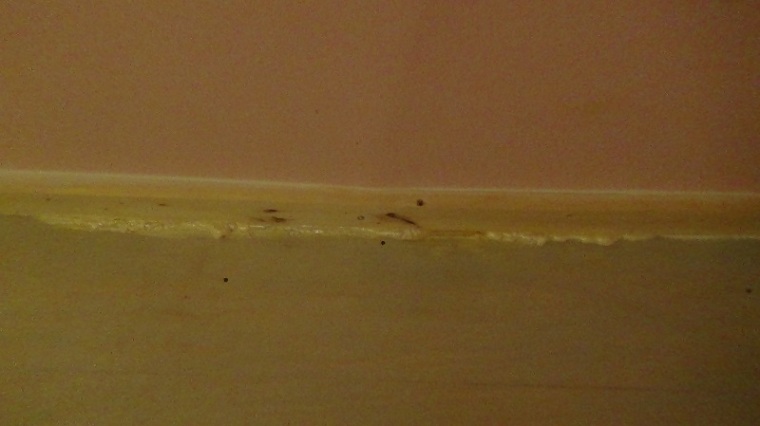

At this point, I felt like Red Green with his duct tape, only instead of duct tape (clearly it was a missed opportunity), I had caulk. Layers and layers. And a few more layers.

And lots of crummy Western movies to keep me occupied in the background as I told myself “if it can’t be fixed with caulk and wood filler, it can’t be fixed at all”.

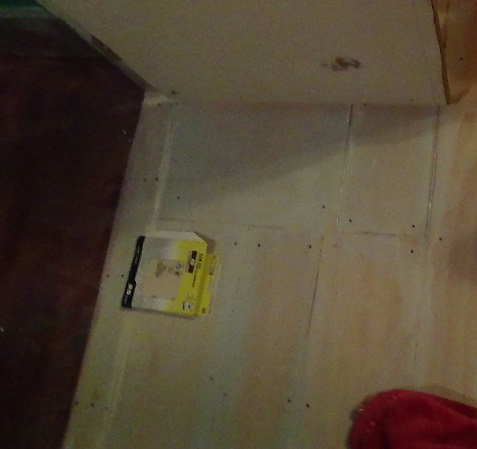
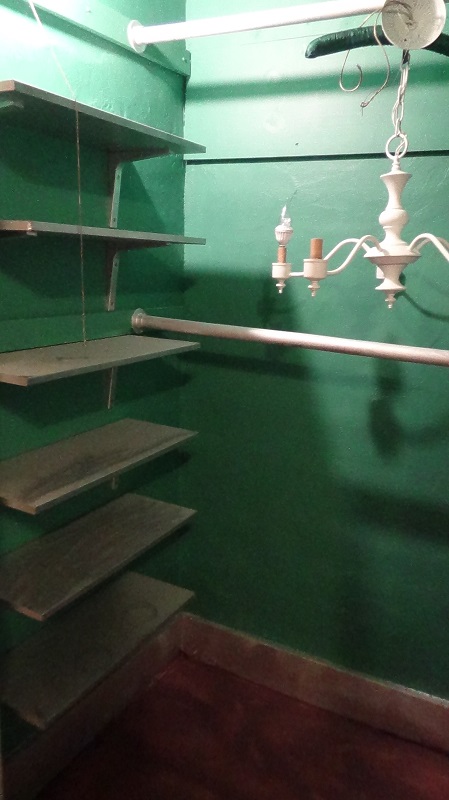
I also installed some shelves and closet rods in my closet.
Then I painted all the trim and doors a nice, off the shelf semi-gloss white.

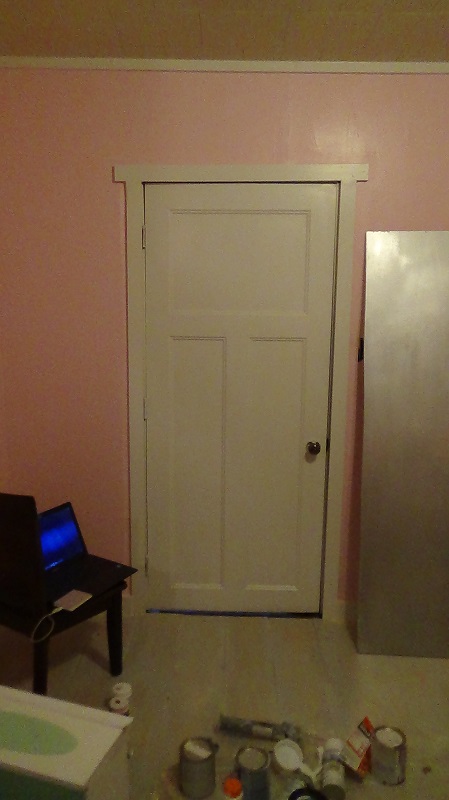
I also filled the old closet door holes during my wood filler spree so I can add actual pulls to them. I can’t remember if I ever mentioned this, but I took out the sliding door hardware and rehung my doors with hinges and about half a dozen cabinet latches, so they open and close like normal doors.
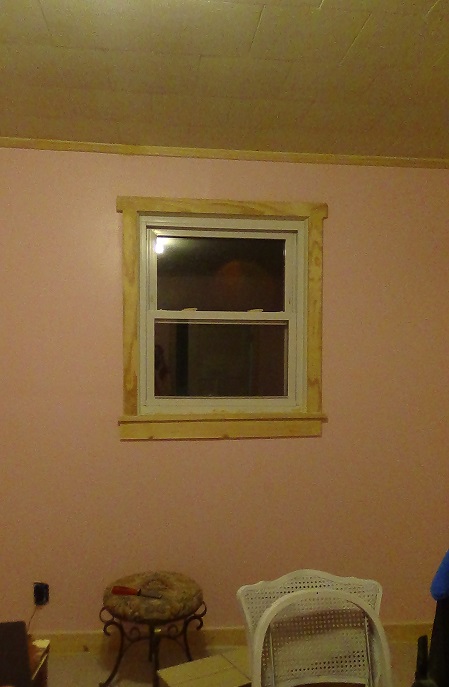
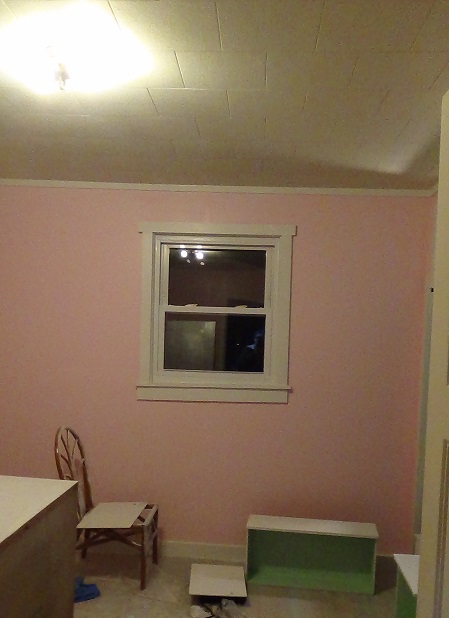
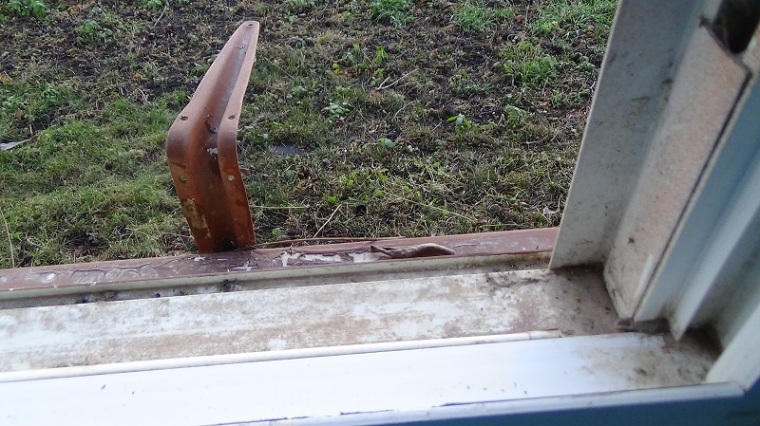
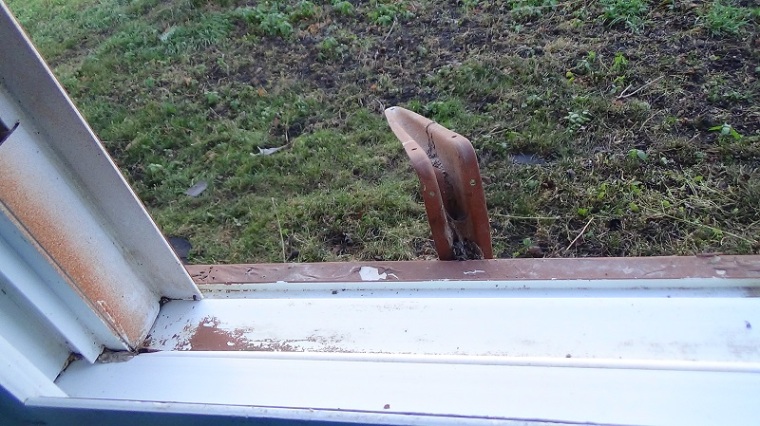
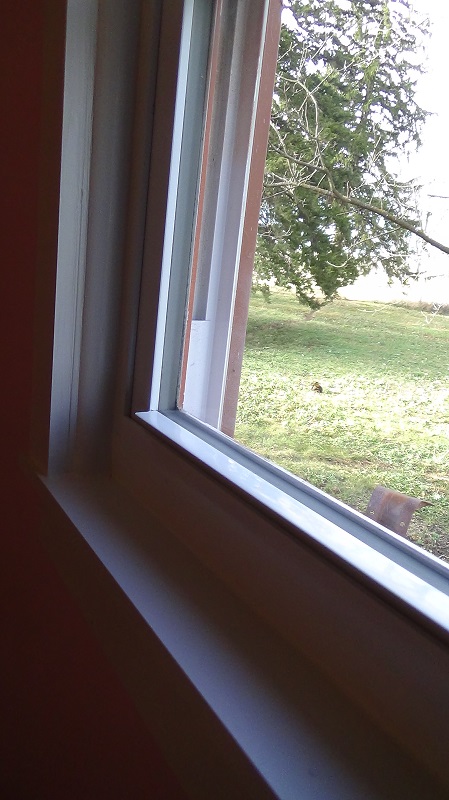
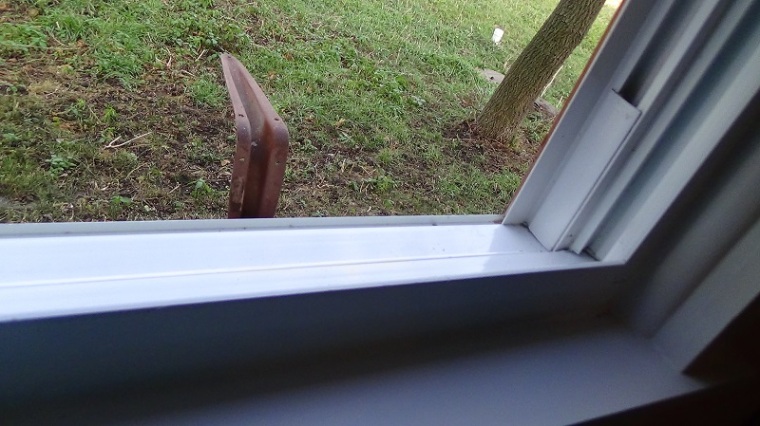
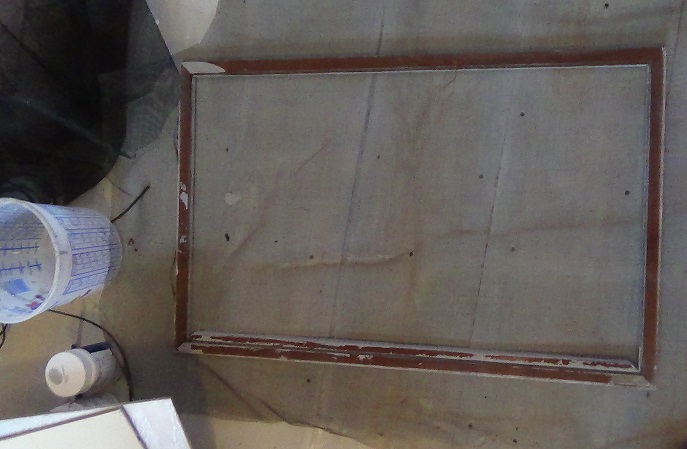
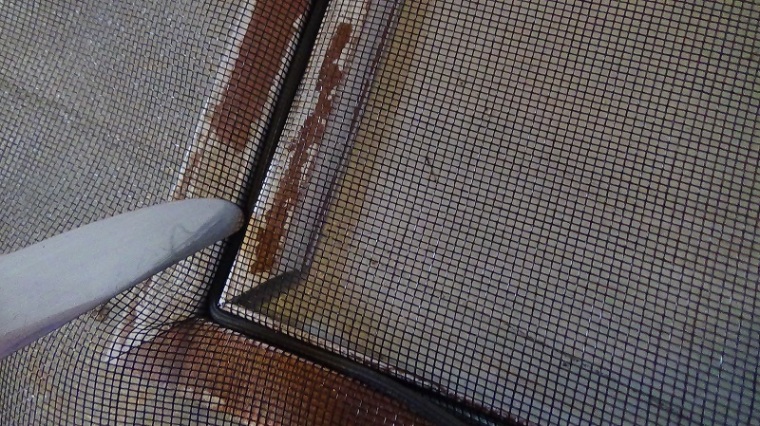
I took a break, came back, and started working on my furniture. I also went ahead and replaced my window screen and cleaned my window with all my might. I touched it up with a bit of paint too, because why the hell not. I still think this was one of the funner things – right after insulating the walls and cutting and installing the trim.


Aaaaand I’m STILL working on painting my furniture. I’ve got two weeks left before my next term. I just put primer on the body of the dresser and finished putting polycrylic on the drawers, so it’s safe to say that my dresser will be done before I start my next term, at least! I’ll make a before/after furniture redo post when I’m all done.
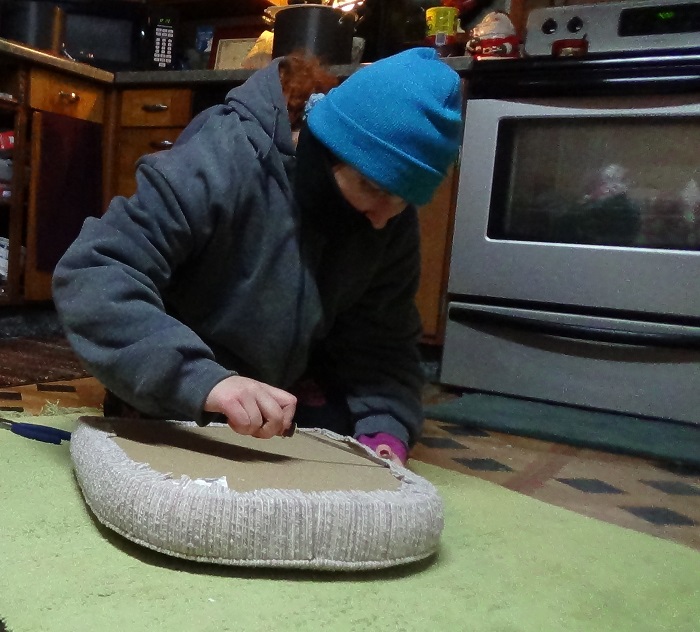
I also removed the seat and upholstery from my stool and two chairs. I’m going to reupholster them as soon as I grab some foam, so that should be done before my term starts, too.
Still, I did get a fair amount done, even though it really should have only taken two months instead of eight, heheh. So here’s what’s left!
- Paint the body of the dresser and poly it.
- Sand off the top I put on the desk and repaint and poly it.
- Install the new light fixtures. Actually read how to do this myself so I wouldn’t have
- to rely on my mom so much, but she’s still going to oversee it – have to wait until
- she’s out of college next week though.
- Paint the chair and poly it.
- Touch up the stool a bit.
- Cut a new seat for the fold-up chair (it was split, but the chair was only $4 and I have leftover plywood and a jigsaw, so it was a nice buy!).
- Reupholster the two chairs and stool. Already have the material for this. Just need to sew the welt cord and get the foam.
- Touch up a few areas of the floor and walls that got dinged or painted.
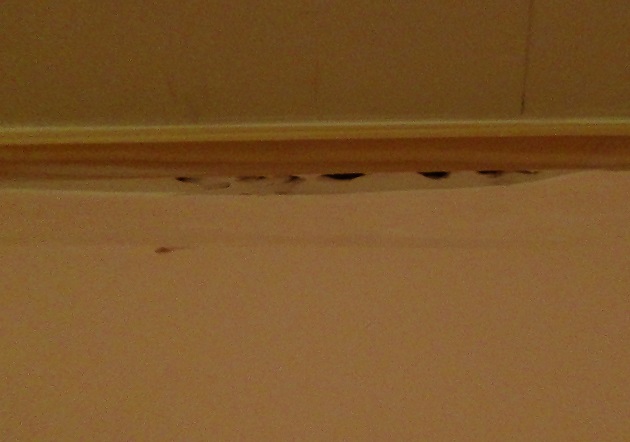
- Touch up the ceiling while I’m at it! I still haven’t gotten around to that, haha.
- Install the roller shade and sew up my curtains. Real quick, easy peasy stuff that shouldn’t take me more than a few hours. But since I’d rather not clean sawdust off of freshly-hung curtains, I’ve been saving this for last.
- Finally, cut up the wood and build my bed. Then prime and paint it. This definitely won’t get done until after my next term starts – the rest could all be done beforehand if I’m ambitious enough, but this will be too intensive of a project.
So since I’ve taken over most of the family duties due to my parents working and being in college, and my own term starts in just two weeks, I can’t say how much I’ll get done. But it’s been fun, and I’m glad I went this route rather than just tolerating my room as it was before.
Before


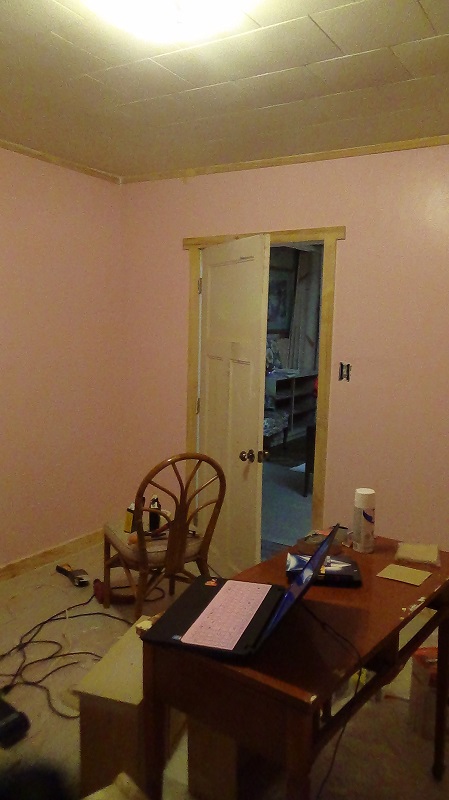
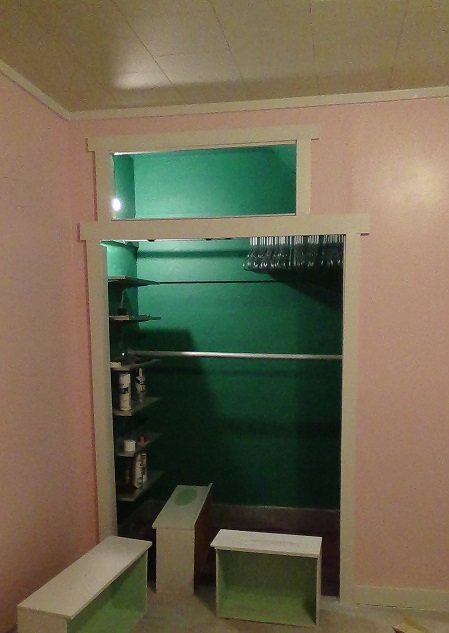
Right now


It’s been a heck of a learning experience! Not just in the usual learning how to actually remodel a room, but in terms of how to budget for expenses (and curb expenses period), how to keep motivated and keep yourself disciplined (which actually helped me out in college quite a bit haha), and how to actually judge my own style. My closet was an experiment – jade walls, purple floors, and silver trim can’t be called anything else. I was testing to see how bold I could go and still like it, since my favourite colours are pastels, and I ended up loving it. I love the baby pink walls and glossy white trim paired with the driftwood-y grey floors. I was worried my love of whitewashed, driftwood floors was just a result of being trendy, but I’ve loved the look since I was young, so I think it’s safe! I’m really digging my room, and I can finally see the light at the end of the tunnel, so I’m feeling awwwriiight.
College has been fun too! I took Composition I, Principles of Accounting I, Macroeconomics, and Astronomy. I ended up loving macroeconomics and astronomy and looked forward to whenever I had to study for them or have assignments due, so I’ll probably throw in similar classes later on when I see I have a particularly tough/stressful courseload. I’m actually looking forward to starting back in two weeks with a strong accounting courseload.
So yes! Aside from the everyday stuff of finances and doing chores, that’s been my life lately. I’ve still been looking at makeup goodies, and ordered a few Besame goods for Christmas/my birthday, but for the most part I just like to ogle rather than own nowadays. (Although those Bite beauty double ended holiday lipsticks are adorable or what??)
How the hell have you all been?! 😀

Holy wow, that is some job you took on! Love all the little comments you slipped in (Red Green, Trump, LMAO).
I admire your work very much. I tried to fix a bit of drywall once, and um, it looks terrible. I need to hide it with a picture frame. 😀
The jade is my favorite – looks brilliant.
LikeLiked by 1 person
Thanks!! 😀 Haha, another Red Green fan I hope?
Uh oh – drywall is a pain in the ass, I sympathize. I quickly learned that everything can be fixed as long as you’re willing to sand your knuckles off. :’D At least you have a nice picture there now!
Thanks!! I’m loving my Star Trek closet B)
LikeLike
Long time seen Zovesta. Love to see the latest update on the finished up room and I could imagine how much effort has already been poured into it
LikeLiked by 1 person
Thanks! Hope you’ve been well. =) Merry Christmas!
LikeLiked by 1 person
Of course and you too have a wonderful christmas and new year
LikeLiked by 1 person
It’s so nice to hear from you! I can’t believe how much progress you’ve made! Your room is coming along nicely! I can’t wait to see the end result! Glad to hear that school is going well too. 🙂
LikeLiked by 1 person
Thanks!! You too. 🙂 Hopefully the end result will be here before too long. Thanks for checking in! 😀 Happy new year! ❤
LikeLike
Miss you! and i am obsessed with the original star treks 😀
LikeLiked by 1 person
Aw! Hey, man! I’ve missed you too-been busy as usual. How have you been?? Haha, aren’t they great? X) Have you read any of the books? I’m loving them!
LikeLiked by 1 person
I am good, took a break and came back to blogging as well 💚 I have t read the books , but I will now 😍
LikeLiked by 1 person
Well then welcome back! 🙂 Ohh, you should. I’m a huge McCoy fangirl, so I loved Doctor’s Orders–interesting aliens, lots of fun interactions and characterizations. I’m reading Sanctuary right now, also really good so far. 😉
LikeLiked by 1 person